Monday, April 27, 2015

Lavender Key Lime Bath Salts

I make bath salts fairly often. Its easy to do and they smell amazing! You can also give your bath amazing colors. I like blue and lavender personally. I have posted a bath salt in the past and this one probably isn't much different but I wanted to make a new post for this one because it makes a double batch and I wanted to point out where I get my scented oils from.

Oh yummy!
This bath salt smells amazing! Its a mix of lavender scented Epsom Salts and key lime pie scented bath oil from Supply Emporium. I think they are even located in my home state of Oregon!


Here is what you need:


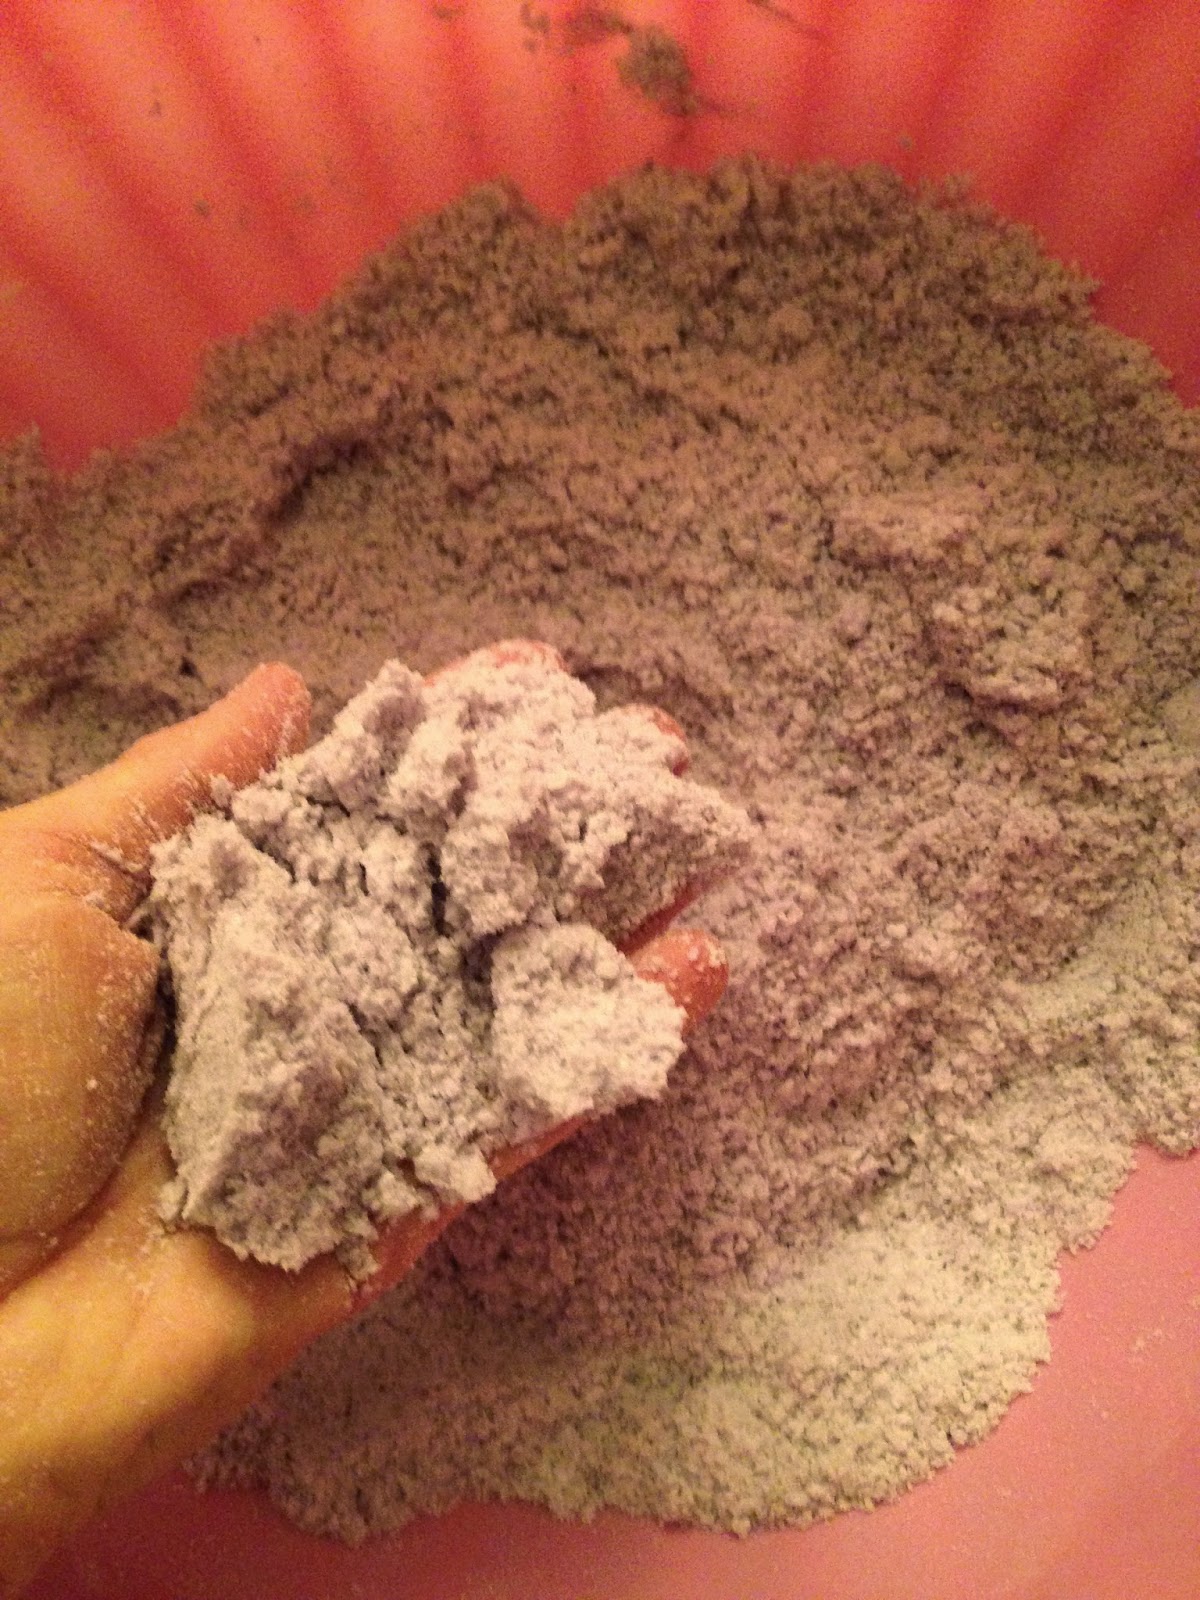
Mix- 1 cup of lavender epsom salt, 1 cup regular epsom salt, 1 cup of baking soda in a large bowl. I used my hands to mix it. Sprinkle in food coloring of your choice. Use just a few drops for light color and more for darker color. Then mix in 2 tsp of scented oil. Use 1tsp if you want a more subtle scent. After mixing it up really well pour it into a container.

Hand mixed!


You may need to shake it up every few days as the oil will naturally settle at the bottom of the container.


Sunday, April 26, 2015

African Peanut Chicken Soup

I had this soup at McMenamins Pub down the street from my house and it was sooooooo good I had to make it myself. So I did a little google search and found the recipe pretty easily. Here it is:

Ingredients

  • 1 cup cooked chicken -- diced
  • 2/3 cup onion -- diced
  • 1 1/2 teaspoons garlic -- minced
  • 2 tablespoons dark sesame oil
  • 1 1/2 teaspoons curry powder
  • 1/2 teaspoon salt
  • 1/2 teaspoon black pepper
  • 1/2 teaspoon crushed red pepper flakes
  • 3 cups chicken broth
  • 1/4 cup tomato paste
  • 1 cup stewed tomatoes -- chopped, drained
  • 3 tablespoons chunky peanut butter

Directions

In a large pot saute the chicken, onion and garlic in the sesame oil for about 10 minutes, until the onion is tender. Add the curry powder, salt, pepper and red pepper flakes and saute 1 minute more.
Add the chicken broth, tomato paste, stewed tomatoes and peanut butter, stirring until well combined. Heat until very hot, but not boiling. Serve immediately.
I did a couple things different- I added one cup of coconut milk and used hot curry powder for a little more heat! Also I threw all my ingredients into a crock pot and cooked it on high for 4 hours as opposed the the directions listed. It will came out great! So do whats easiest for you!


Saturday, April 25, 2015

From Vintage Refashioned To Newly Refashioned!

So I have had this little number for a very long time. Since high school. I got it at a thrift shop back then. Believe me when I say that was a long long time ago! Its a super cute mod mini dress and I am certain it was refashioned into this at some point during the 80's or 90's. I can tell that it was at least re-hemmed from a much longer version of itself. The current hem is hand cut/sewn and if I were to let out that hem it would be fairly long. 

Pretty cute right?

I always loved this dress but....

So here is the catch- I love this dress but the netted lining inside the sleeves is painful. Itchy, ouch painful. Its old. The netting has to go if I want this to be a keeper. So I started by cutting out the netting. But it was still stuck into the seams and there was no good way to fix that problem. It still itched and rubbed against my skin. So I cut off the sleeves. Oh- I also cut off the buttons on the front because they were falling apart.

Here is the culprit!
Off with the sleeves!
Did I mention I also dyed it purple? Well the off-white was a little dingy and needed a little something. So purple was that little something in a box of Rit Dye. 

After dying and snipping I sewed the top of the sleeve holes. Like so:


I also trimmed off some of the inside lining, and edging around the top where it had come undone. 

See all that extra material waiting to get stuck in the zipper!?
It also has a hole in the front so I used some of the sleeve material to make a patch. I never used the patch though because I couldn't get it on just so. I ended up just sewing the hole closed by hand. Its not too noticeable.

Thanks sleeves!
So this is what it ended up looking like:

Selfie style!

Hi Presley!

Somehow it feels shorter even though I didn't take it in or shorten it!
So while I loved it with the sleeves and the buttons, I couldn't wear it that way and what use is a dress you can't wear?! I think it turned out pretty decent. I plan to add some buttons back on the front but will have to find some really cute purple ones first. Its also so short I could wear it as a top. I will most likely at least wear leggings with it!

Thanks to my husband for the almost but not quite clear phone pics! ;)

And thanks to my daughter Presley for photobombing me during the after pics!

Sunday, April 12, 2015

Bringing Pink Back From The 70's.... Or Is It The 80's?

So I have this giant mumu from the 70's or the 80's. I can't really tell with this one. The print is very pink and kinda cute. Maybe. My vote is still out on if its cute or not. I figured I would see what I could do with it before sending it off to the donation bag in my garage.

Isn't it a beauty!?
So I started by folding it in half and cutting the length off. I folded it in half so the cut would be even on both sides.


Goodbye length!

Next I put it on my dress form and took in the sides with some pins and sewed that. Then CHOP goes a ton of material on each side! And the sleeves. Those went bye-bye too.

Thats like half the dress!

There goes the sides!

Finally I hemmed the bottom.

Hem hem hem.

Then I had to fold the edge of the arm holes in and sew that down. It was hard getting it through my sewing machine but I got it done! I don't have a pic of that, sorry!

And this is what I have left:

No shoes or dressing up this one- its still doomed for the goodwill bag!
It turned out pretty decent but it still isn't my cup of tea. It will be heading for the donation bag still- but at least now it will have a better chance of finding a new home!

Saturday, April 4, 2015

Great Balls of Yellow

I have a bowl of decorative balls on my coffee table. They are made of straw and paper-like material but I'm not certain what all of it is. I do know most of it is lightweight and spongy feeling. So it's a perfect candidate for a dye job! I wanted to add some yellow to the bowl to tie it in with the yellow in my living room curtains and the decorative blanket flung over the edge of the couch.

Heres the bowl before:


Here is the curtains with the yellow:


So I got some of this:


And I did this with it:


I put the entire box of die in with about 3 to 4 cups of hot water. No salt needed. I let them sit and occasionally stirred them around with a spoon for about 10 minutes. Then I set them out on my sink to dry:


Here is how it turned out:


Some of the balls not made of straw wanted to fall apart after I took them out of the water so if you try this yourself, you may consider not letting them soak any longer than it takes to coat them with the dye. Or have some glue on hand!